Repairs to NX41CC
Repairs to Passenger Seat
Created April 12, 2006
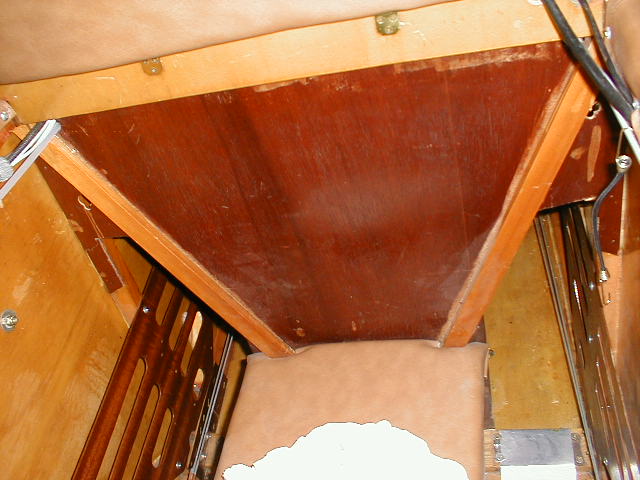 This was the passenger seat area of NX41CC as Corky constructed it. There was no cushion in the seat back area; only the seat bottom and headrest were cushioned. The seat back is 1/8" plywood and forms a bulkhead diaphragm with the two V-shaped members. And no, there isn't a huge bite taken out of the seat... that's glare from the bright sun shining into the cockpit and fooling my camera.
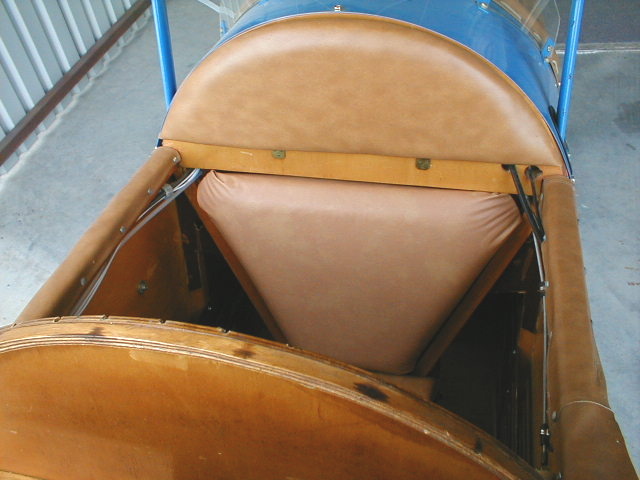 I fabricated a cushioned seat back that attaches with Velcro. The naugahyde doesn't quite match existing, but it's close enough. The problem was that while working in the front seat area, I noticed that the seat was not that rigid nor sturdy.
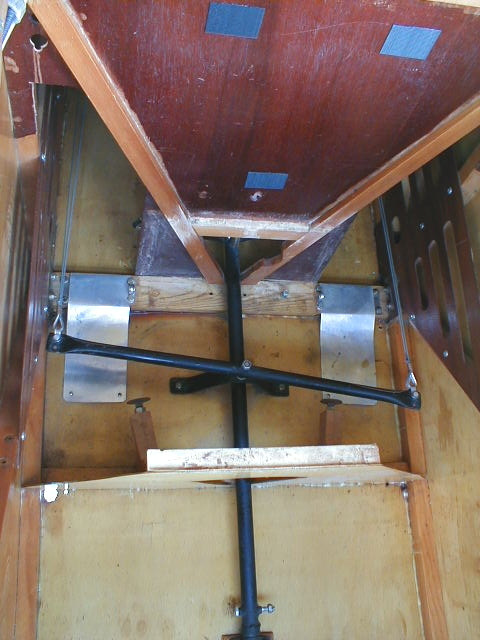
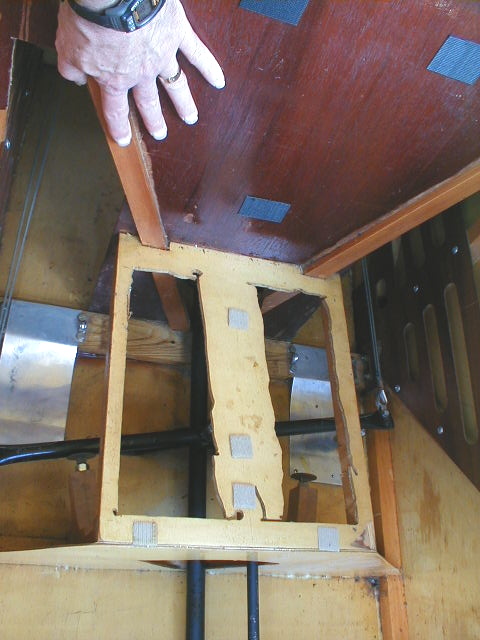 Removing the cushioned false seat bottom (which is also attached with Velcro) exposed the structural plywood seat bottom and framing. Corky had cut access holes into the seat bottom (apparently with a Rotozip, rather crudely) for access to the rudder bar and the torque tube that links the front and rear control sticks. However, two of the three framing members that support the seat were not glued to the bulkhead at their aft end (they were a bit too short to reach), so the seat was being supported by the center member and the rigidity of the seat/framing assembly. Additionally, the framing members were smaller than called for in the plans... 5/8" square as opposed to 3/4"x1" according to the plans.
 I also found that the bulkhead plywood had cracked along its bottom edge, sheared where it attached to the aft face of the ash crosspiece along the floor of the cockpit. The two framing members that form a vee were not attached to the ash crosspiece either; they came about 1/4" short of reaching it. No wonder the plywood cracked... it was never designed to carry fore-and-aft loads of any consequence.
 So out it came. All of it. After thinking about beefing up and repairing, I thought better and tore it all out to the bare bones. All glue was removed and the wood sanded back to prepare for rebuilding.
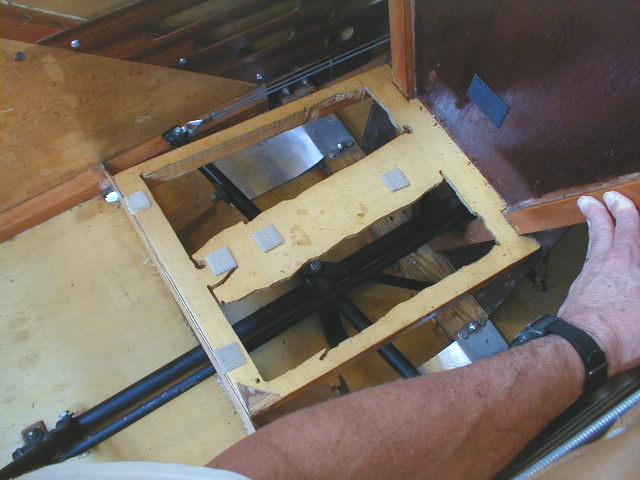
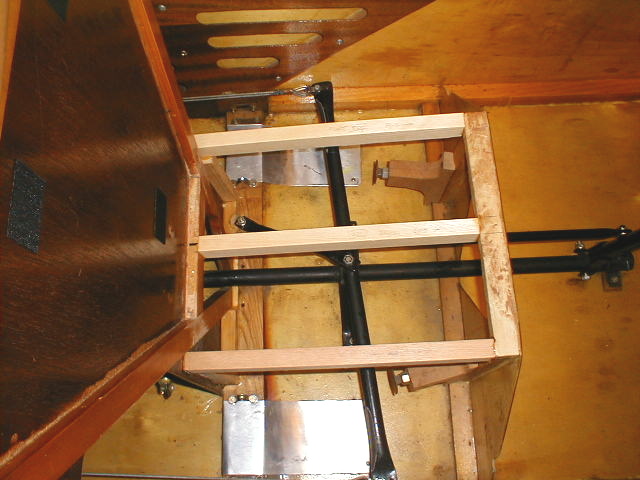 New seat framing. I used what I had handy, which happened to be spruce, pine, and doug fir... so all three framing members are of different wood but same dimension. Purists please look the other way. I added short verticals to support the aft ends of the two outboard members as well as a bottom gusset piece at the bottom. The gusset piece is glued to the ash crosspiece in the floor, providing a new attachment for the plywood bulkhead as well as the bottoms of the pieces that form a vee. It is all now very stiff, stout, and rugged. Entry to the front cockpit involves stepping in onto this seat, so it needs to be rugged.
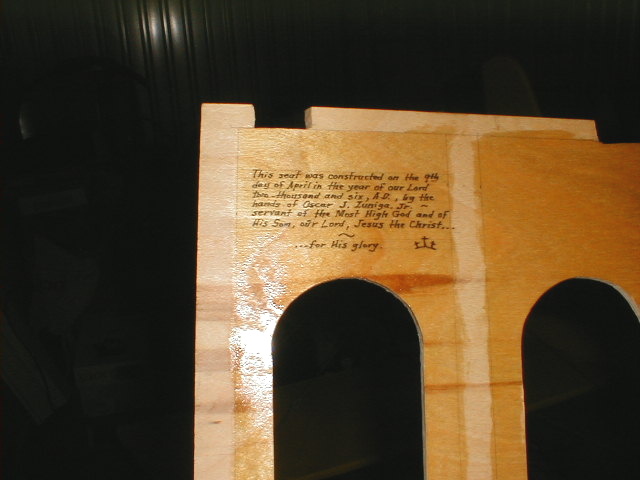 Prior to gluing in the new seat bottom (with neater, oval access holes cut in it) I needed to varnish the underside since it would become inaccessible. On a whim, I wrote a little note on the underside, varnished over the seat except where a glued surface was needed, installed it with some staples and epoxy, varnished the top, and now it's all done.