Repairs to NX41CC
Repairs to NX41CC
Updated May 8, 2006... added pix of tailcone access
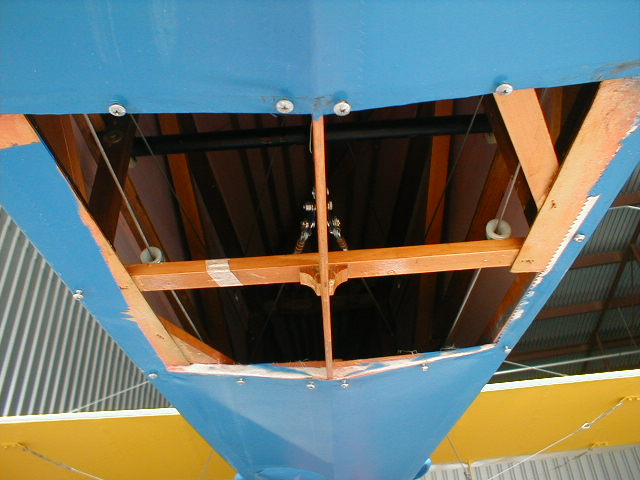 Before I get into the repairs, here is a shot of the access to the tailcone and the elevator bellcrank. Simple but extremely useful.
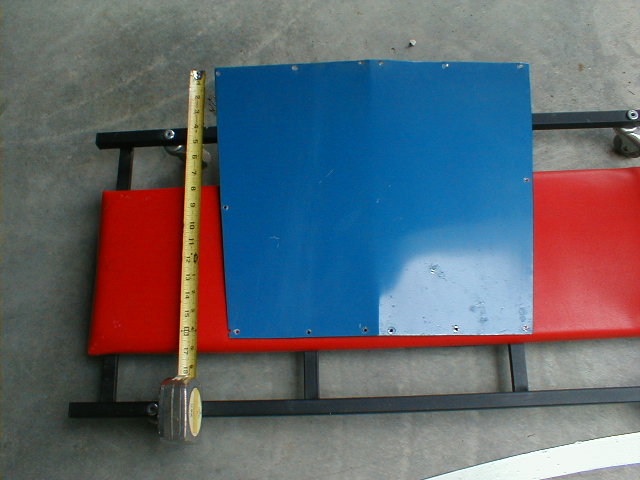 Here's the access panel. A simple piece of aluminum, cross-broken down the center to follow the shape of the underside of the fuselage. Attached to the framing with PK screws.
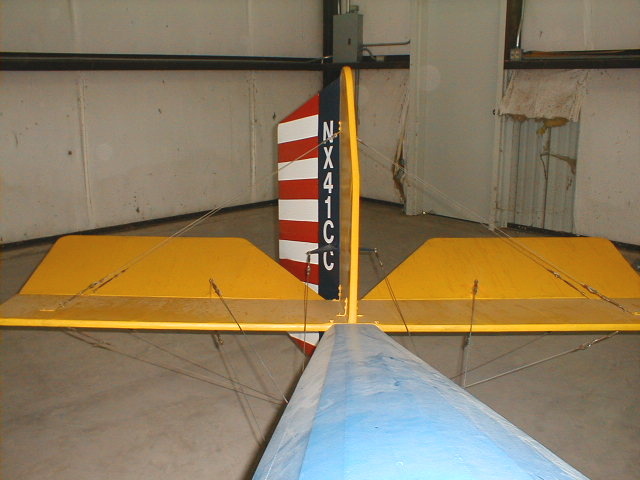 This was the problem with the vertical stabilizer. When the plane nosed over, the tail hit the ground and cracked the T-stringer leading edge of the VS.
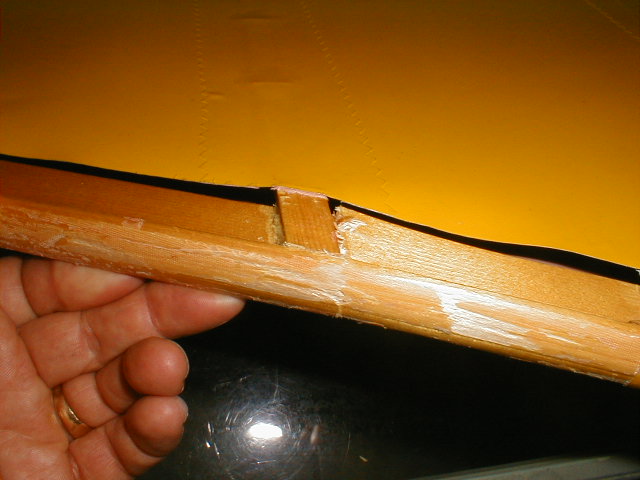 Cutting open the fabric and expecting to do a splice repair to the T-stringer and fabric, as expected- I found the leading edge cracked right at the rib, about mid-span of the leading edge. But unexpectedly...
 ...I also found the two lower ribs split in their mid-spans as well. So I stripped all the fabric off the VS. With encouragement from my friend Jeff Scott, I dived into new waters for me... the wonderful world of fabric covering.
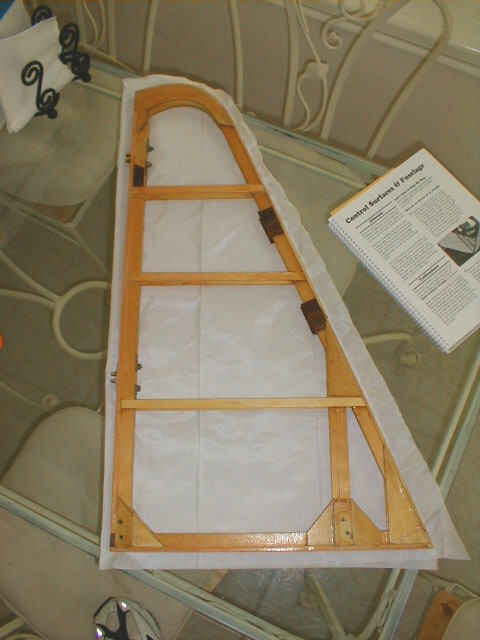 Here's the VS with the wood repairs... spliced T-stringer leading edge, with gussets at the glue joint. New lower ribs, port and starboard (thanks to my friend Tom Jack for the new ribs). And the Poly-Fiber fabric, cut to size.
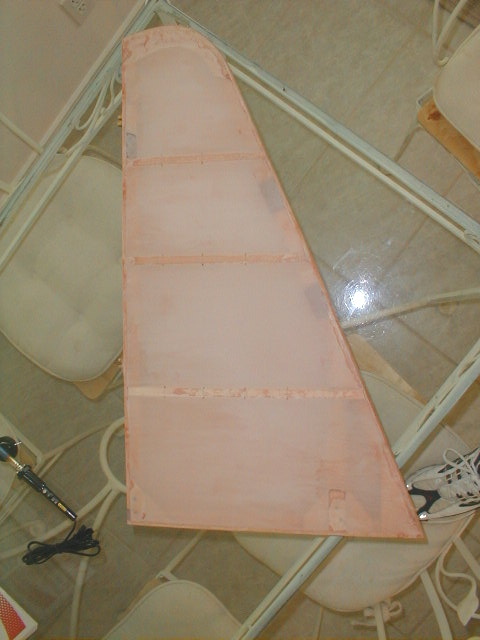 And here's the piece after the first coat of Poly-Brush. The fabric has been glued to the wood frame with Poly-Tak, the joints trimmed and heat-smoothed, the fabric heat-tautened (all the wrinkles and imperfections disappear like magic!), and that first wet coat of Poly-Brush soaks everything.
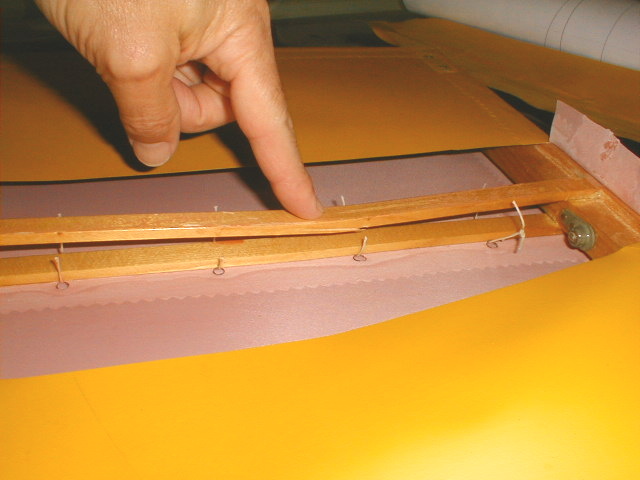
 Applying reinforcing tape (peel-and-stick backing) under the rib laces, then I learned the fine art of rib lacing, the modified seine knot, and hiding the knots. Thanks to Corky Corbett for the little tip about using a soldering iron (fine tip) to make the holes for the laces. I marked where all the laces would go through the fabric, then just touched the fabric at those points and -voila- perfect little holes with the edges melted together so the fabric doesn't ravel. Same technique will be used at the places where bolts go through. After the finishing tapes are on, I'll hold the piece up to a light so I can see where the bolt holes need to go, then touch the soldering iron to the fabric and get the holes made. Great fun, this fabric covering stuff!
Poly-Brush, Poly-Spray, and Poly-Tone...
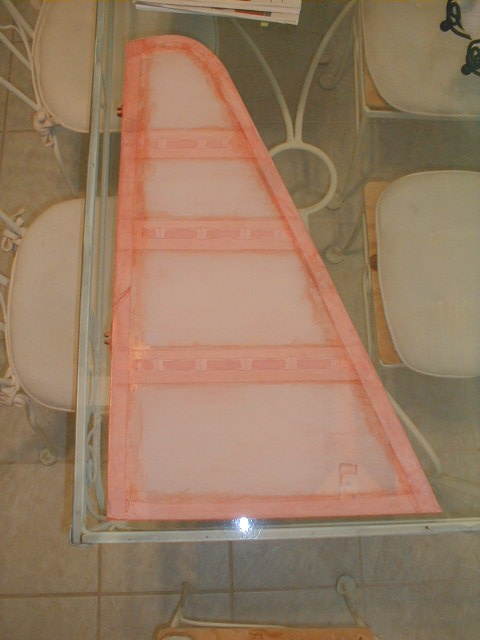
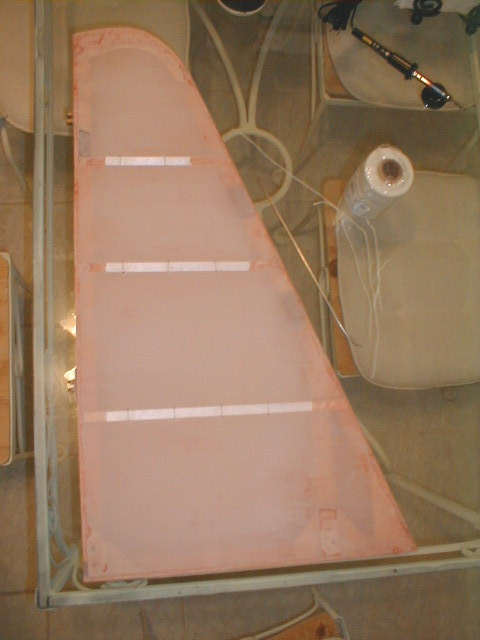
Here I've applied all the finishing tapes over the seams and rib lacing. All tapes have pinked edges. Stretching that 3" bias tape over the curved top of the VS leading edge was the trickiest part and I'll admit that it didn't turn out 100%, but good enough for 1932 barnyard airplane building! Then the whole thing gets several coats of Poly-Brush (the pink stuff) to seal the weave and glue everything together. Two coats first, then final heat-smoothing of wrinkles and bumps, then one last good coat.
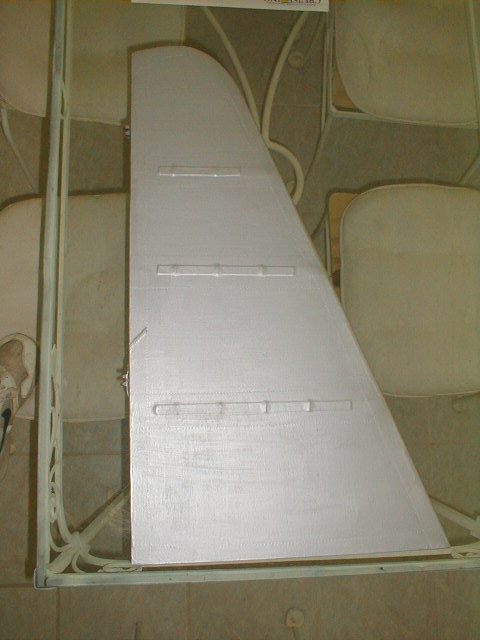 ...and then it's the Poly-Spray (silver) coat. This is the one that shows all your goofs, gnats in the wet spray, brush bristles, everything. Two cross-coats of silver, one last touch-up of drips and bubbles with 320 grit, and a final smooth wet coat of Poly-Spray before color coats. The diagonal line about halfway up the trailing edge is a seam in the bias tape. I should have cut out another piece, but am so "frugal" (read: cheap) that I went ahead and used it, splice and all. Corky had done it on the original cover job and so I carried on the tradition ;o)
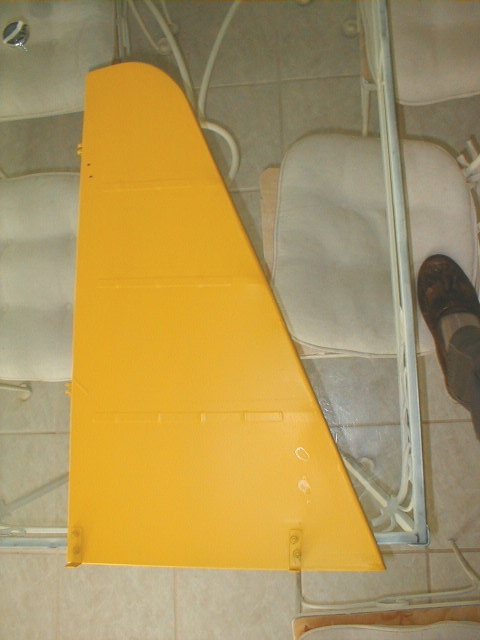 Here's the piece with final color coats. I was pretty proud of myself, having never ever used a spray paint rig before. Only one little goof as I was painting... it was so blasted hot and humid that a drop of sweat dripped off my forehead right into the wet coat of paint! Collected my wits, wiped it off, let it dry, smoothed it out, and hit it with the next color coat... perfect.
July 11, 2005
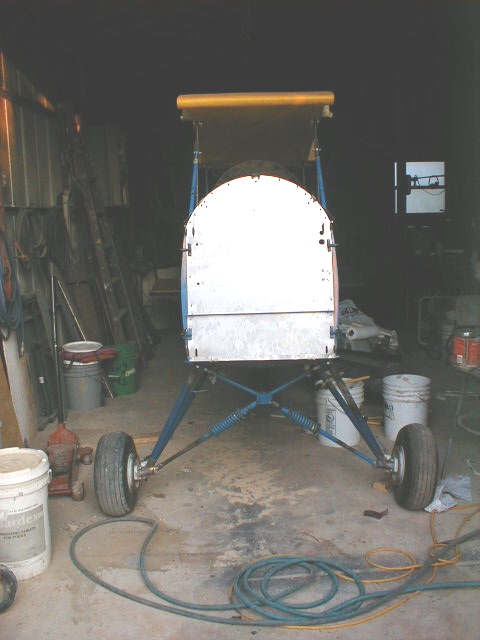
The new stainless steel, 2-piece firewall, as well as the repaired landing gear. The photo is slightly tilted, not the airplane.
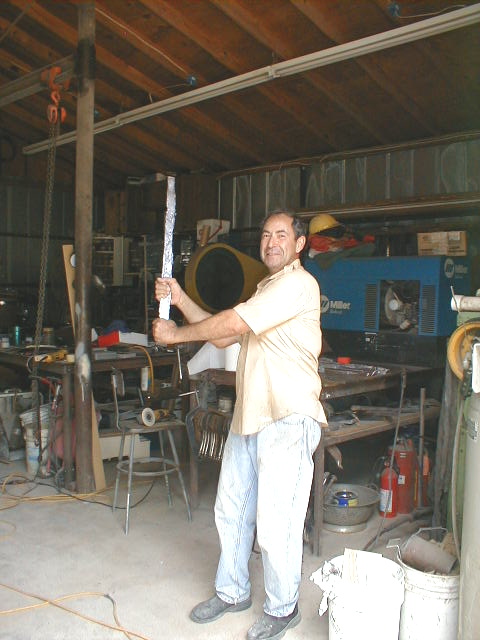
This is what happens when your project stays in the shop too long. My friend (and welder, and metalworker extraordinaire) Sal Hernandez finally couldn't stand it any longer and ran me and 41CC out of his shop on Saturday, 7/9/05. Sal had been casting some lead ingots for a handloader friend so he picked up a lead bar and was about to take it to the Piet. I loaded it up and got the heck out of Dodge...
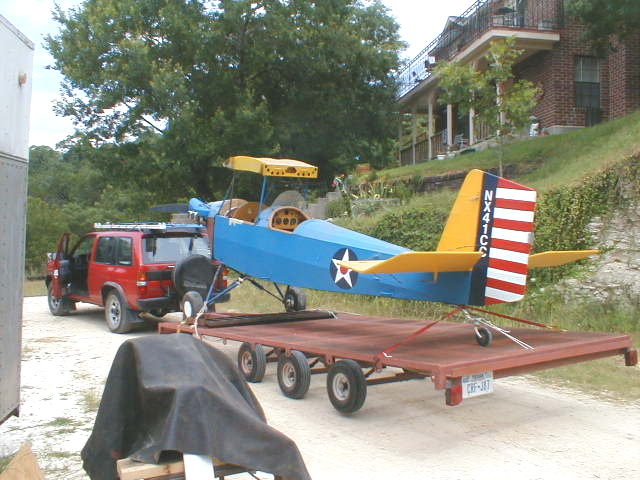 Here's what it looked like, loaded on the new EAA Chapter 35 flatbed trailer. The trip to San Geronimo Airpark was uneventful. Not too visible are the new forward cabanes, since they still do not have paint on them. Slightly visible is the new lower engine cowling, in primer. Exhaust stacks still need white VHT paint so they are not installed at this time either.
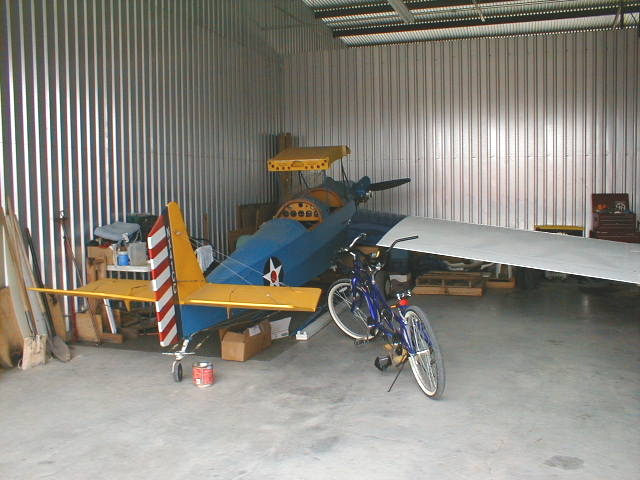 Here's the airplane, safely tucked into the hangar beside Randy Stout's Corvair-powered Zenith. Wood and fabric repairs to begin in earnest.