Alamo City Corvair College III
CorvAIRCRAFT engines, the good, the bad, and the ugly...
created January 22, 2003
Let's start with "the ugly" ;o) Dave Morris, a Dragonfly builder from Bedford, TX, brought his core engine down to give us some great "before" pictures of the typical pulled core engine. Dave had a run of bad fortune that began on Friday night when his truck wouldn't start. He had it towed to Sears to get it checked out and rented a truck so he could bring the engine out to the College. Sometime during the workshop on Saturday, Sears told him they found a problem with the starter but they couldn't work on starters. He had to call for a tow to drag it across the street to Firestone and have them fix it. Easiest $60 that tow driver ever made! (And what did we used to do before we had cellphones?!)
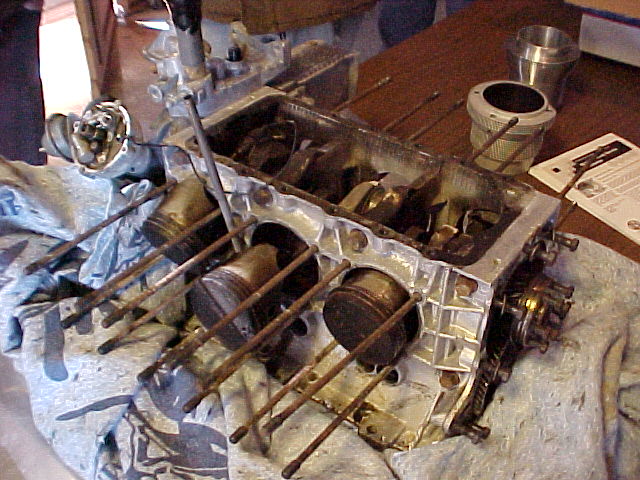
 Lower end of Dave's engine.
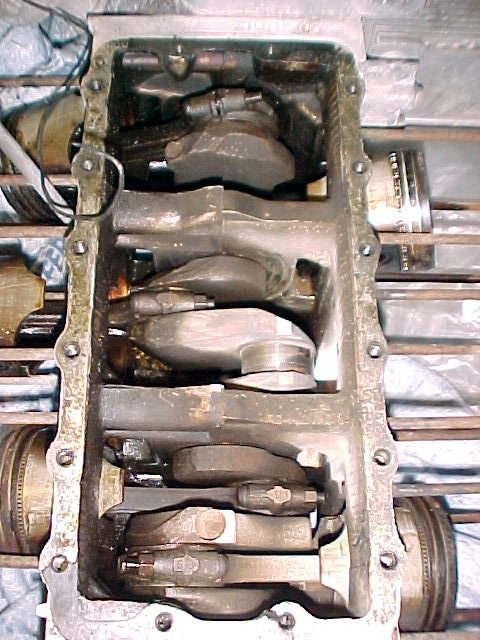
 Success! Dave's engine got disassembled down to the bare bones at the College. Strange thing found inside: five stock pistons and one TRW! Sometime during its life this engine had a "bad piston day" and got a new lease on life. The bad news comes later in the story.
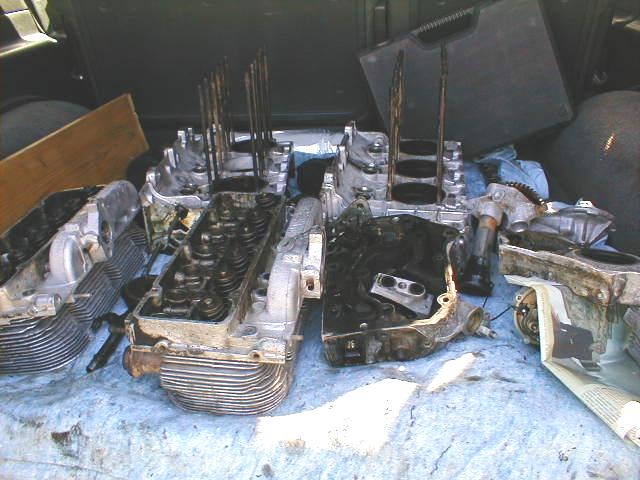
 Dave's cam and case half. Pretty typical example, and considerably cleaner than many.
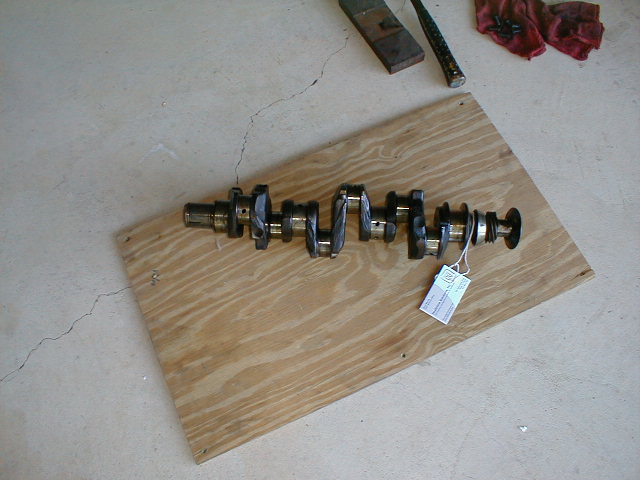 Here's the bad news. When the piston went out and the engine was partially overhauled, metal fragments apparently remained in the case because a piece jammed in the cam gear teeth, taking out the mating two teeth on the crank hub gear. Fortunately, this gave William the opportunity to use the big press that he brought from Florida, and the crank hub was pressed off Dave's crank. William took the crank back with him for reworking with a new hub and safety shaft (or snap ring-?). William explained that he used to exchange cranks that he reworked with new parts and sent out the best crank in his parts box each time, but seemed to end up with leftovers that way. Now he reworks YOUR crank with HIS parts. (This prompted comments from the peanut gallery about exchanging spouse-type cranks for something else).
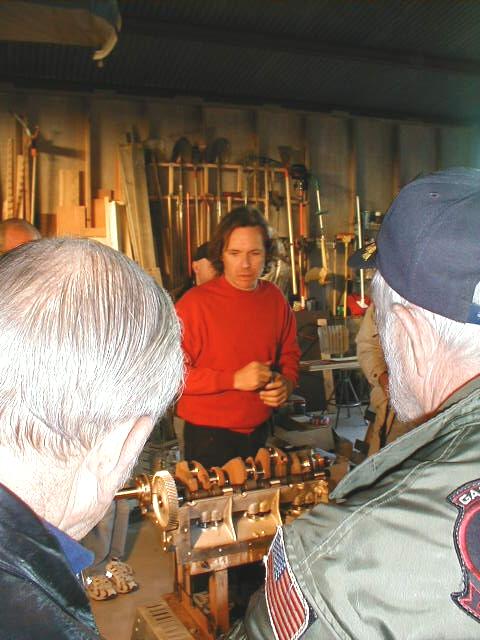
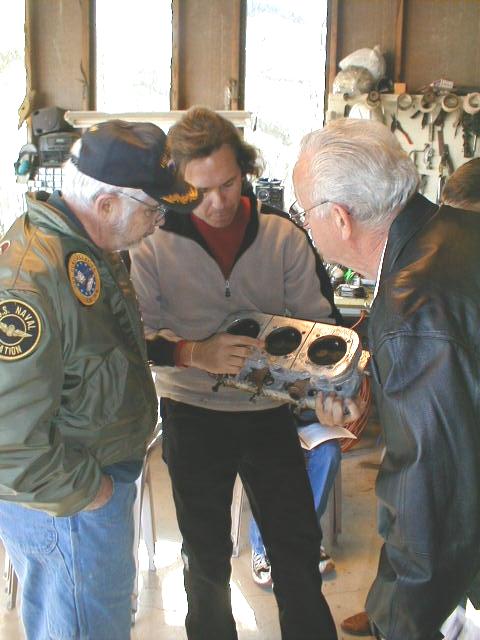 William lecturing on combustion chamber differences, using one of Dave's heads. KR2 builder Don Sprague on the left.
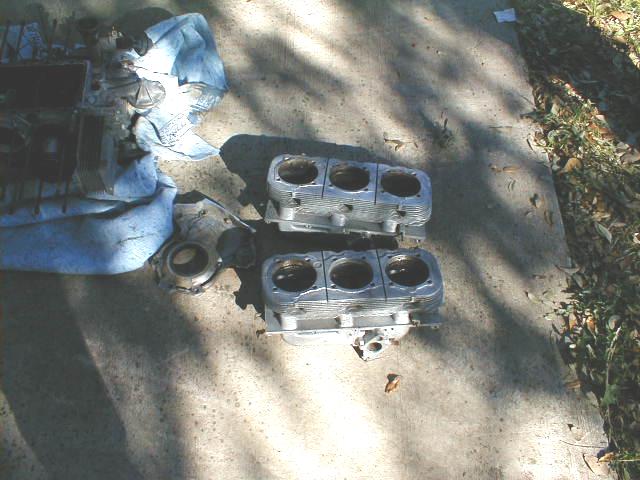 Another shot of Dave's heads.
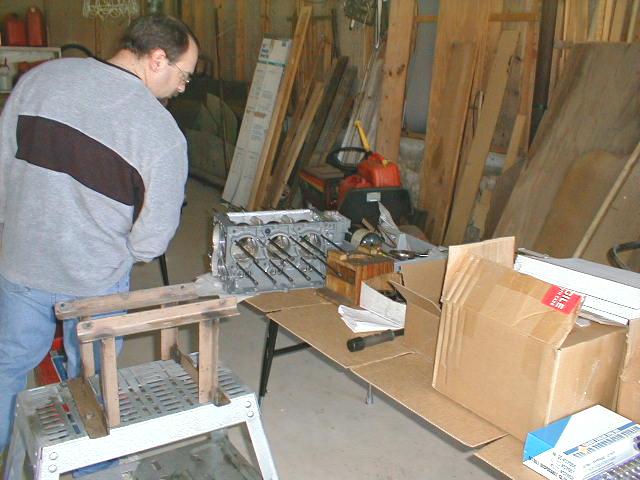 My engine cases. It turns out that I let spray paint get into some no-no locations. Nobody knows the trouble I've seen, though, because I sat there one entire Saturday masking the case halves off for painting. I guess that's why I'm not a professional painter (and why I use rattle cans... sorry, Mark) ;o) Also visible here are two of William's simple but effective jigs. The steel frame in the left foreground is for holding case halves for assembly, and for holding heads while working on them. The small wooden box on the table is for holding cylinders while the rod/piston assembly is inserted.
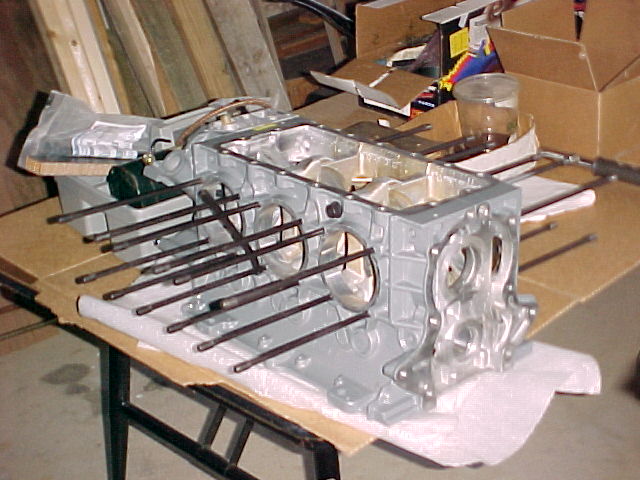 Another shot of my engine cases. Dipstick tube has been shortened 5" from stock. For the truly curious, note the pushrod tube holes in the case... still plugged with cardboard circles that I used to keep paint out of the holes and that I forgot to remove before bringing the cases out to the College. I just didn't use enough masking though, and there was paint in the bores... which is one of those oil leak problem areas that needs to be shiny-smooth. Another good "teaching moment" for William, as he demonstrated a quick way to clean up these holes using a piece of Scotchbrite jabbed onto the end of a spade bit chucked in the air drill and soaked with WD-40. Polished the bores right up.
 William lecturing as he prepares to button up my case halves. Temperature in the hangar was dropping into the 40's at this point, but the crowd hung on to watch the crisp mating of the case halves after cam gear registry was verified and everything was lubed properly. A razor blade was used to remove tiny ridges or flaws along the mating surfaces.
 Paul Zimmerman's engine, veteran of an earlier College and a very clean example. He had it on a small rolling stand... very handy.
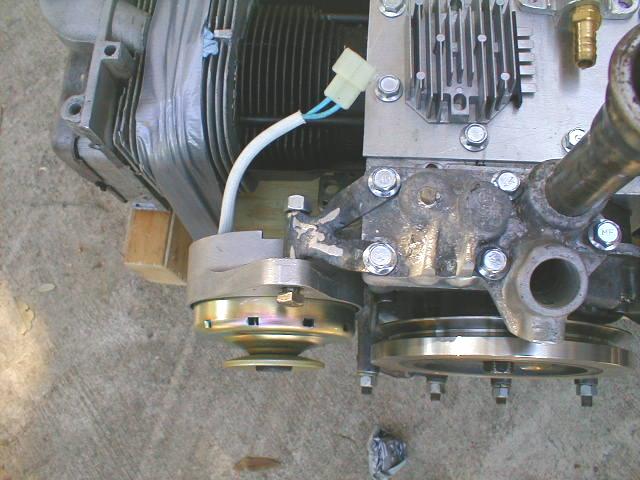 Paul's dynamo mount... a fabricated Y-shaped piece.
 Paul's simple and clean top cover, and his oil cooler/filter adapter. He said it was a bear to weld the hose fittings to the porous and oil-impregnated engine adapter.
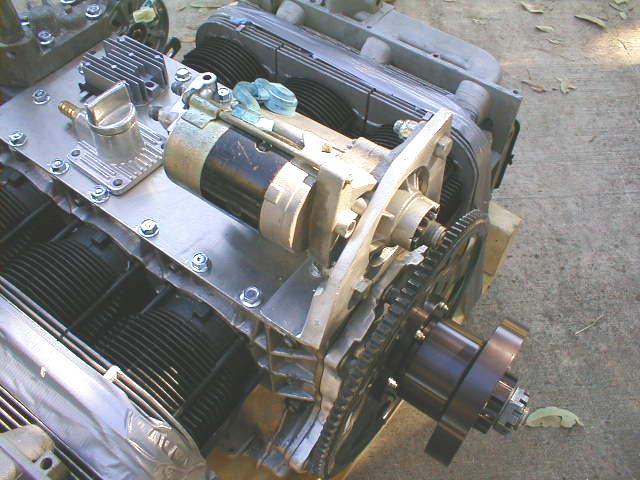 Paul's front-mount starter setup. Fabricated one-piece mounting bracket.
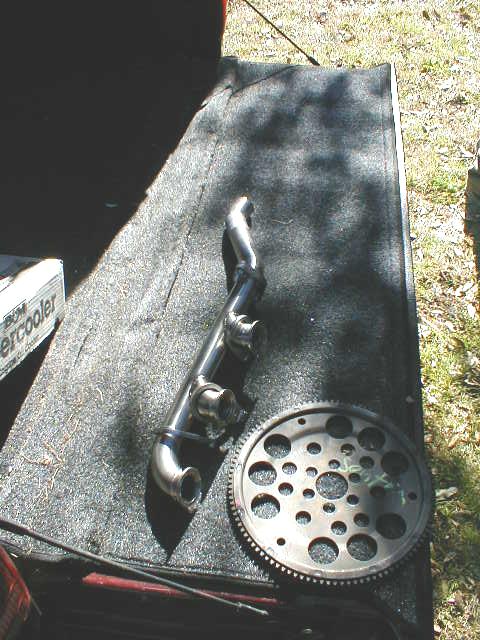 I believe this is Paul's or Tom's Sentra flex plate, as well as one of the fancy fabricated exhaust manifolds. I'm not sure, but I have a suspicion that the manifold is Terry Bailey's stainless steel work.
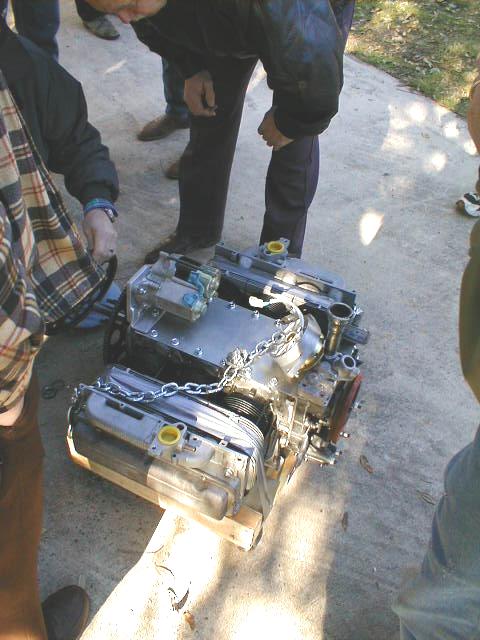
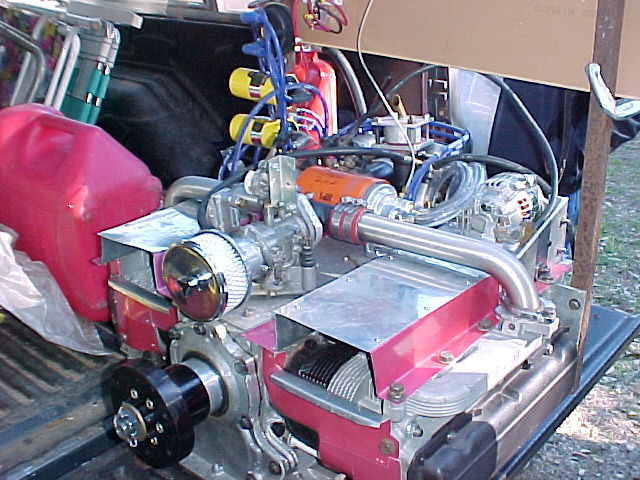 And here is Tom Cummings' "Crawfish Corvair" engine, another veteran of a previous College. Tom had a top-mounted Zenith carb on it, as well as dual ignition coils and MSD automatic coil switcher, fabricated aluminum pressure cowl/baffling, rear-mount starter and alternator, and an oil setup with the filter on the top plate.
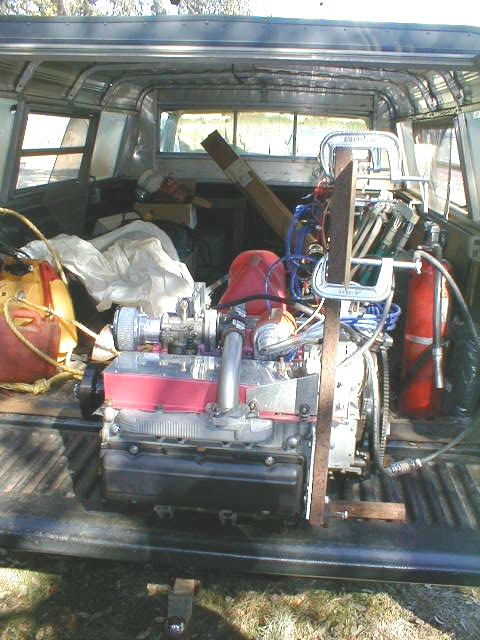 Another view of Tom's engine showing how he has it arranged for test running, but the engine was moved onto William's test stand rig after this shot was taken. Tom's engine will go in his Tailwind.
My thanks to everyone who took the time and interest to come out for the College. Total attendance for the event was over 60 people! I had envisioned for it to be all day of hands-on wrenching, but there were so many attendees that were new to the CorvAIRCRAFT world that the focus became introducing more people to the engine and conversion, and answering the endless questions. This is good! And my very special thanks to Paul Zimmerman, who typifies our homebuilding world with his warmth, his tolerating my ribbing about his being an Aggie, and his willingness to help others to jump into their engine projects even though he is complete with his. Now... go find yourself a core and get busy building!
Click here to return to Oscar Zuniga's M-19 Project